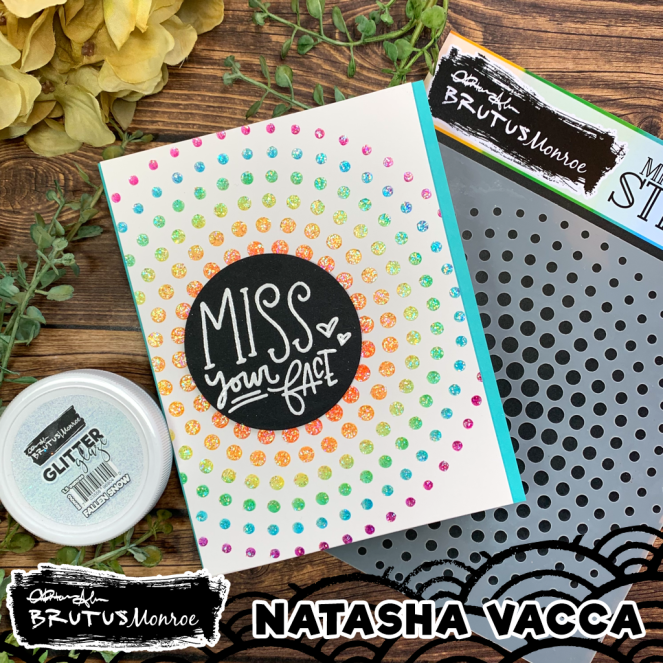
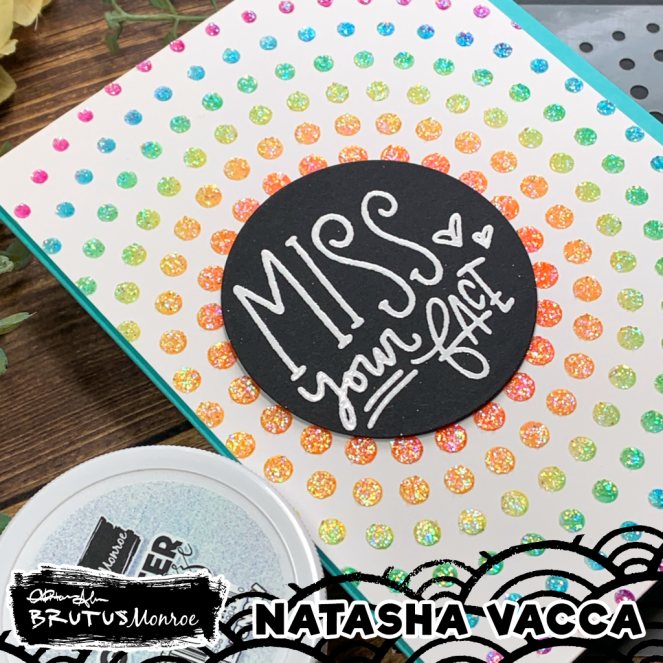
Hi Friends – Hope you had a great weekend! It was a very sunny, hot, and humid weekend here! I love the sunshine… so it felt good! I did have a little more crafty time with the added heat this weekend! Today I am sharing one of the new releases from Unity Stamp Company – Be a Flamingo! I love this set – this set makes me dream of a beach vacation! Be sure to check out the Unity website – for the awesome releases this weekend! There is a set for everyone… Fall, Winter, and a beautiful holiday background stamp too! I have linked them all below!
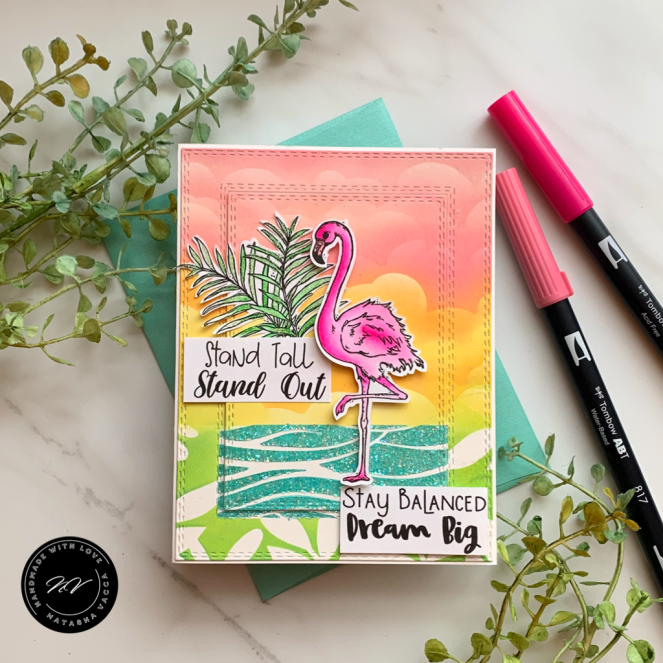
Let’s get started! I started by stamping the flamingo. I used my Tombow brush pens. I did very simple coloring for the flamingo. I only used 2 colors. I also colored in the palm leaves using a green shade, leaving this coloring very simple. I did add some glitter drops on top of the leaves too. Once my coloring was complete I set the flamingo aside and started to work on my background! I was excited to use my new stencil, a recent purchase from Unity Stamp Company. It is a cloud and wave stencil all in one! I was so excited to use this stencil. I used the following Distress Oxide ink colors for the clouds: Picked Raspberry, Worn Lipstick, Spiced Marmalade, and Squeezed Lemonade! I had fun making clouds – this was new for me! Once my clouds were complete I masked a section on the bottom to add leaves. I created a rectangle shape using washi tape. I used a Simon Says Stamp stencil – Leafy Frames with Lucky Clover and Twisted Citron I wanted to add these leaves to add a tropical feel.

Next up was creating the water and how fun to use this 2 in 1 stencil. I moved my washi rectangle to create the waves. I used Distress Oxide in Salty ocean. I then added Glitter Glaze on top for added shine! Once everything was dry I die cut the card base using the largest of the Gina Marie designs double stitched rectangle. I then used a smaller one for the middle of the card. I then adhered the outer frame to my card base and used foam tape to adhere the middle portion of my card. I glued down the sentiments (this is one large sentiment and I split it into 2 sentiments). I used foam tape for the flamingo too!
I had a lot of fun using this new set! I love the beach, so this set just makes me smile!!!!!!
Be sure to stop by Unity Stamp Company – I have linked each of the new releases below!
Thank you for stopping by! I have listed all the products I used within my post. You can click on any of the links I have shared if you are interested in purchasing the products. The products listed are a compensated affiliate link, which means if you make a purchase I receive a small commission with no extra cost to you. I really appreciate your support.
- One Scoop at a Time
- Love into Giving
- Fall Gal
- Fraser Fir Background
- Just Peachy
- Be a Flamingo
- The Fan(tache)tic man
A few other AWESOME sale categories in the shop include:
Supplies Used:
- Stamps:Be a Flamingo
- Paper: Canson Water Color Cardstock, Bristol Smooth Card stock
- Coloring Medium: Tombow Brush Pens, Distress Oxides (colors shared above)
- Other: Cloud and Wave stencil
Thank you so much for stopping by! I hope you have a great start to your week!
Crafty Hugs,
Natasha