Happy Birthday – Brutus Monroe

Hi everyone! I am so EXCITED to share with you my first card as a design team member with Brutus Monroe! I am so excited to be a part of their team and to learn more! For my first design team post I am sharing with you the Stamp of the Month!

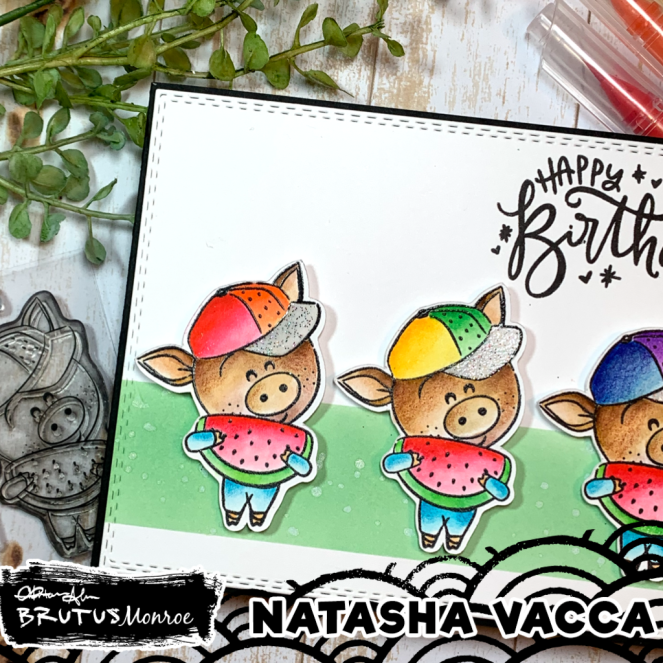
For my first card I started by stamping this little cute pig 3 times on Bristol smooth card stock using Brutus Monroe – Raven Detail Ink and then heat set it using a clear embossing powder. I colored the pigs in using my zig water brush markers and added some colored pencils as well. I then used my scan and cut to fussy cut my images. On the caps of each hat I used Rainbow Embossing Powder from Brutus Monroe This powder is so pretty and sparkly, I thought it was perfect way to highlight their rainbow colored hats! I did add in an inked background and used washi tape to create the small rectangle strip across the bottom section of the A2 card panel. I chose a sentiment from the Brutus Monroe – Super Sentimental set. I love the sentiments included in this set and the amazing fonts!

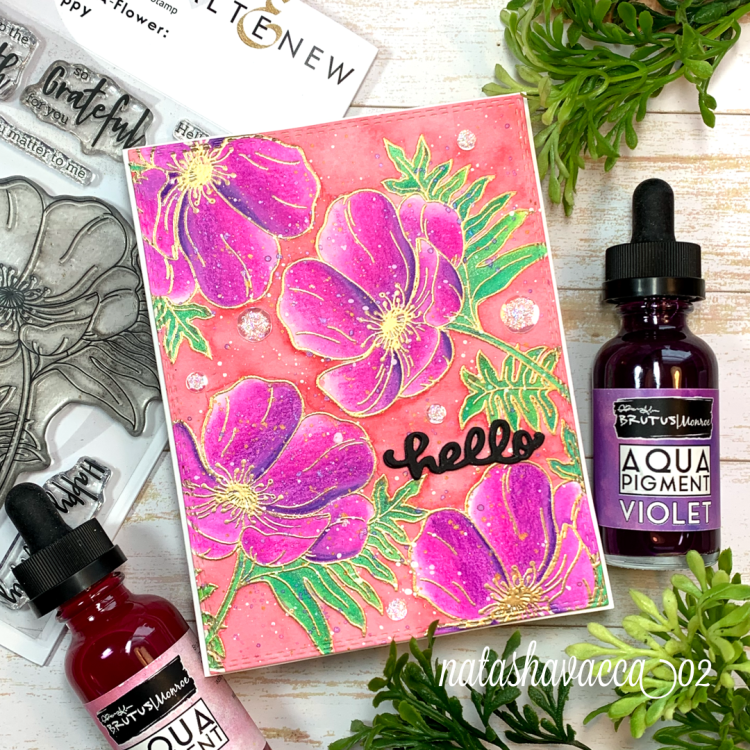
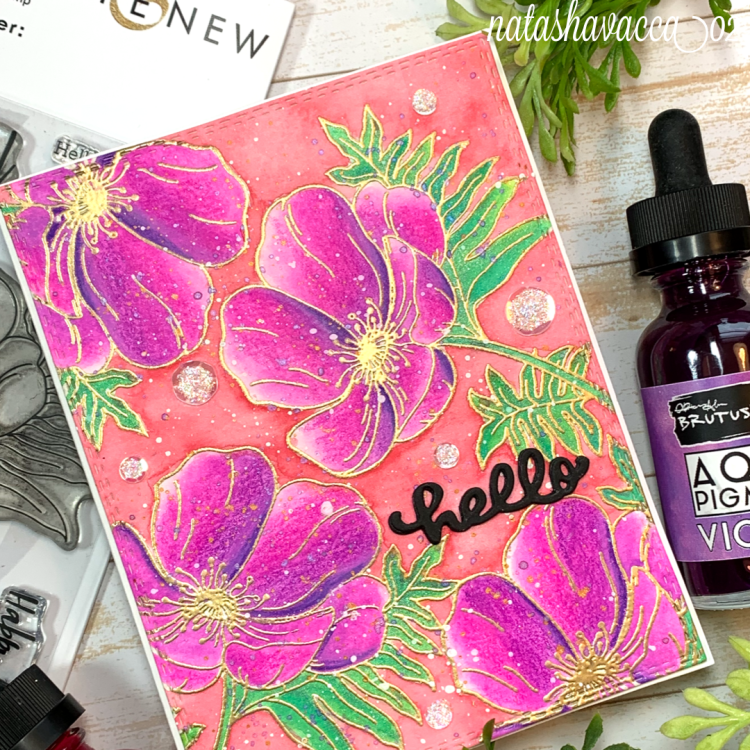
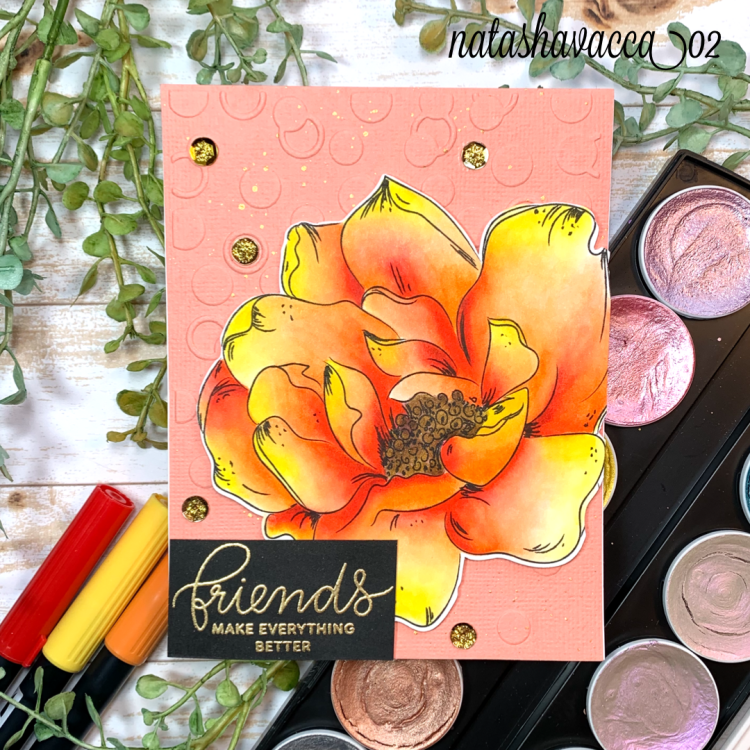
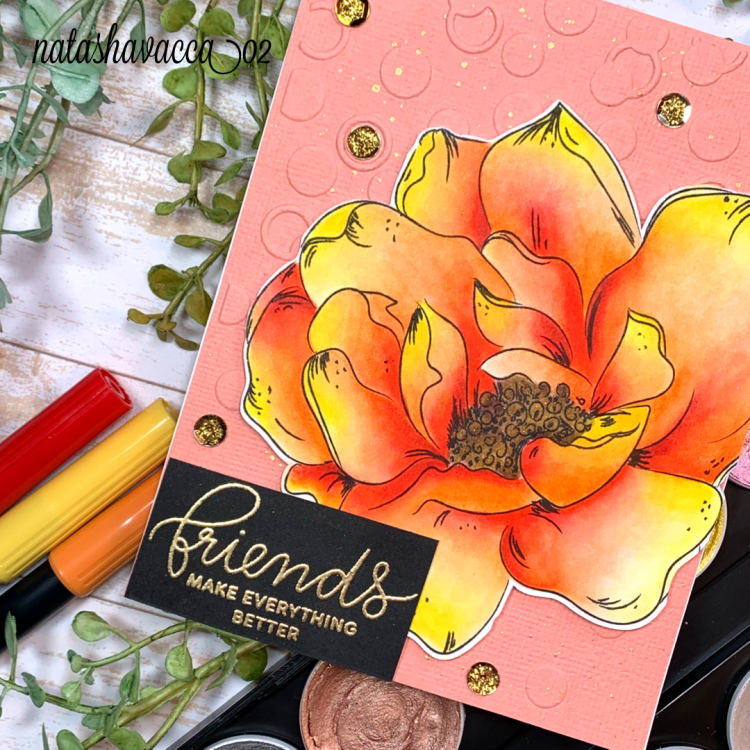
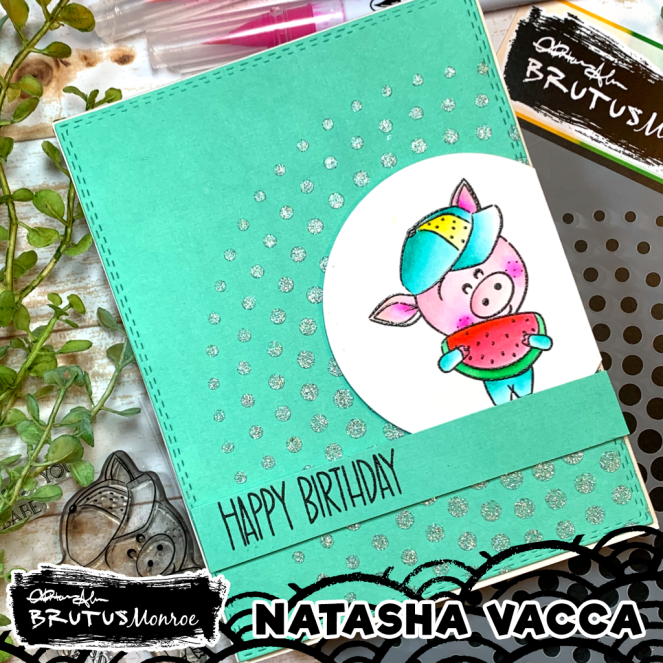
I wanted to create a second card using the Stamp of the Month. I started by stamping the image using Detailed Raven Ink on Bristol Smooth card stock. I then heat embossed the image using clear embossing powder. I then used my Circle Foundation dies from Brutus Monroe to cut out a circle image around the piggie. I colored in my image using my zig clean color brush markers. I chose bright colors for this card. I chose a piece of aqua card stock from my stash and then used the Circle Tone stencil from Brutus Monroe. I used glitter glaze on top of my stencil! I love all the added sparkle! It was so fun to work with! I chose a happy birthday sentiment from the Super Sentimental set.

I hope you enjoyed both of these cards using the Stamp of the Month! If you enjoyed seeing my cards, I would truly appreciate your support if you like these items by using my affiliate links. I would greatly appreciate your support! I hope you have a great day and a healthy week ahead.

Sending you crafty hugs,

Natasha

Lemon Blossom – Alex Syberia

Hi everyone! I am so excited to share the beautiful new release from Alex Syberia – Lemon Blossom. This new release is a beautiful bundled set, including a background stamp, stamped images, as well as more! A direct link to this beautiful new release and more can be found here at Alex Syberia. I truly love Alex’s work and her eye for color is beyond amazing! In today’s post I am sharing the 2 cards I created for this new release, I will be posting them at different times on Instagram.

For my first card I used the beautiful background stamp in the set! I love a beautiful background and this one is so beautiful! I love anything with lemons, so this was just so much fun! I find lemons so cheerful and bright! They make me happy! I started by printing the background in Bristol Smooth card stock. Once my card stock dried for 24 hours I started to color. I used my zigs for this project, along with some colored pencils. Once my coloring was complete I chose a sentiment for my card and heat embossed this on vellum using gold embossing powder. I then mounted the background on some patterned paper and mounted this on an A2 card base.

For my second card I chose to work with the beautiful lemon stamped image. For this card I wanted the lemon to be the focal point for my card. I started by printing the image on bristol smooth card stock as well. I colored this using my zig markers and added some colored pencils. The addition of colored pencils is just so amazing how it changes the coloring! I love it!

I then used patterned paper and an embossing folder on white card stock for my background. I looked through my stash and found an adorable sentiment from a lemon set called Pucker Up from Sugar Pea Designs. I hope you enjoyed these cards. These cards do sure brighten my day, it has been a tough week. I hope these brighten your day a little bit too!

Supplies Used:

  • Stamps: Lemon Blossom (Alex Syberia), Sugar Pea Designs (Pucker Up)
  • Coloring Medium: Zig Clean Color Brush markers
  • Paper: Bristol Smooth card stock

Wishing you a great week and thinking of you!

Hugs, Natasha

Alleluia – Graciellie Design

Hi everyone! I hope you had a great week! I apologize I haven’t posted this week, it was a busy week at work! I did enjoy coloring a bit each night and will be posting more cards shortly! I have a few coming next week that I am excited to share with you! Today I have the beautiful new release from Graciellie Design. You can find this new release at this link, along with many other GORGEOUS stamps!

For my card today I started by printing my image and sentiment on Neenah 80lb cardstock. I truly loved this image and as soon as I saw it, I knew what I wanted to do. I created a one layer card with this beautiful stamp. For my coloring I used my Altenew artist markers. I did add a little shading to my flowers and the leaves. I then used my embossing pen and used WOW – Metallic Gold Rich to the leaves. After being a part of the recent WOW hop – I am in love with adding embossing powder to my digital stamps! Have you tried it yet? My card was then complete and I mounted the panel after cutting with a GIna Marie Designs die on an A2 card base.

I hope you enjoyed seeing this beautiful new release! Be sure to visit Graciellie Design and her beautiful shop!

Supplies Used:

  • Stamps: Alleluia – Graciellie Design
  • Coloring Medium: Altenew Artist Markers
  • Paper – Neenah 80 lb card stock

Wishing you a beautiful weekend! Crafty Hugs,

Natasha

Winter Flowers – Alex Syberia Designs

Hi everyone! I hope your having a great weekend! Today I am using the beautiful digital stamp Winter Flowers by Alex Syberia. I am attaching a link here to her store in etsy…. https://www.etsy.com/shop/AlexSyberiaDesign I love her stamps and her work! I am also participating in the Daily Marker 30 day challenge hosted by Kathy Racoosin. I love this time and setting time aside for me to do what I love… COLOR!

I started by printing the Winter Flowers on Bristol smooth card stock. When working with digital stamps I like to print and let them sit for 24 hours before coloring. For this card I used my Tombow dual brush pens and then shaded in the nooks and crannies using my Arteza colored pencils. I die cut the card panel using a Gina Marie Designs die and then mounted the card on an A2 card base. I then wanted to add some extra shine so I used a Glitter embossing powder from WOW – Pearl Gold sparkle. I used an embossing pen to add embossing ink to the centers of each flower and added my glitter powder, then heat set.

I then used my metallic watercolors (from Hobby Lobby) to add splatters, I chose a purple and blue color to highlight the flower. I couldn’t decide if I wanted to add a sentiment, but I then decided to add one (it felt like it needed a little extra) – the sentiment is from The Gray Muse.

Supplies Used:

  • Stamps: Alex Syberia Designs (Winter Flowers), The Gray Muse
  • Paper: Bristol Smooth card stock, 120 lb Recollections for card base
  • Coloring Medium: Tombow Markers, Watercolors

Hope you have a great Sunday & a great start to your week! – Crafty Hugs,

Natasha

Graciellie Designs & WOW Embossing Powders

Hi everyone! I hope you had a great week! I am so excited to share with you a collaboration between Graciellie Designs and WOW Embossing Powders! Be sure to visit Instagram for more information on the hop, see beautiful inspiration from the team, and ways to use digital stamps with embossing powders! As well as enter to win a PRIZE!!!!!!

For my first card I used the Beautiful Peony stamp set from Graciellie Designs. https://gracielliedesign.shop/product-category/digital-stamps/floral/ You can see this set along with many other beautiful floral images here in the link provided. I started by layering the large peony and added leaves to my image to create a large floral cluster! This is one of the reasons digital images are so fun and easy to work with! You can layer/mask right on your computer, no masking paper required! I colored my images using my zig brush markers. I also used colored pencils in the nooks and crannies on the peony image.

The WOW embossing powders were so fun and easy to work with! I had a great time! For my first card I chose to work with the beautiful Sea Turtle Embossing powder. https://wowembossingpowder.com/embossing-powders/ I love the tones of green and white in this powder, I thought it was perfect for leaves! I also wanted to add some more embossing to this project, so I die cut my sentiment (hugs) from Simon Says Stamp and added the metallic gold rich to the word hugs. For both the leaves and the sentiment I used my embossing pen by Ranger to emboss the area prior to adding the powders. I then added splatters and sequins for additional shine and interest!

For my second card I chose to work with the Hey Beautiful stamp set https://gracielliedesign.shop/product/hey-beautiful-mega-digital-stamp-set/

I started by working with this beautiful large floral image in word and added leaves behind the image. For this design I wanted to make the floral image bright and use pops of color! I used my arteza brush pens for my coloring. I used many layers of color, I wanted to create a bold and bright card! I also used colored pencils in the nooks and crannies. I love adding deep rich colors here, it truly makes the image pop! I then wanted to create added interest using the embossing powder, I used the Metallic Gold Rich powder here on my card. I used my embossing pen to create horizontal lines across my card front using my t-square ruler on my card front panel. In some areas I chose to leave an area off for embossing to create added interest and more of a distressed look.

I hope you had a great week and join us on the hop! There are so many beautiful cards and inspiration on ways to use digital stamps with embossing powder!

Have a wonderful weekend! Crafty Hugs,

Natasha

Fresh Cut Bouquet

Hi everyone! I am excited to share a card with you, I apologize I haven’t posted on my blog in about a week. It was a busy week! I am happy to be back!

I am participating in the Daily Marker 30 day coloring challenge, are you? I love this coloring time and all the encouragement we share with each other! For the first 3 days I focused on using alcohol markers. I am learning which colors blend well and which colors are harder for me to blend. I had a much harder time with purple, but that is ok! I will keep trying!

I started by stamping this beautiful image using Momento Tuxedo black ink. I then used my Altenew artist markers to color. I am finding I do better working from the lightest shade to my darkest shade. After I was done coloring I used pencils to add more dimension into the nooks and crannies. I chose a sentiment, heat embossed this and adhered this with foam tape. My card was then complete.

Supply List:

  • Stamp: Simon Says Stamp & Memory Box (collab stamp) – Fresh Cut Bouquet
  • Paper – Neenah 80lb for alcohol markers, 110 lb. Recollections Card stock for base
  • Coloring Medium – Altenew Artist Markers, Arteza 120 Colored Pencils

Have a great week! Crafty Hugs,

Natasha

So Grateful For You – Poppy

Hi everyone! Hope your week is off to a great start! Last night I spent time relaxing before I started back up to work. I enjoy coloring, it is truly relaxing! I wanted to work some more on using my alcohol markers, as this is a goal I have this year! I decided to relax and give it a try again… I wanted to use the beautiful Poppy flower from Altenew which is part of a monthly subscription… Paint a Flower! I am so excited about this monthly release!

I started by stamping my poppy flower using Memento Tuexedo black ink on Neenah 80lb cradstock. On my leaves I used Nuvo alcohol markers and on my flowers I used Altenew artist markers. For the flowers I used 4 colors from the Red Sunset collection. I am finding I do better when I start with my lightest color and work my way up to my darkest color. Once my coloring was completed I chose a patterned paper, adhered this to my card base, then glued on my flower panel on an A2 card base. I chose a sentiment from the stamp set and my card was complete.

Supplies Used:

  • Stamps: Altenew Paint a Flower – Poppy
  • Paper: Neenah Classic Crest Solar White (80lb), patterned paper
  • Coloring Medium: Altenew Artist Markers, Nuvo Alcohol Markers

I hope you have a great week! Crafty Hugs,

Natasha

Eclipse Hello – Retro Graciellie Design

Hi everyone! I hope you had a nice weekend! I am getting ready to start back to work tomorrow, our winter break is over! It was wonderful though… lots of family time, crafty time, and even had lots of sun here today! It was actually warmer here today… made me so ready for spring! Today I am sharing the new release from Graciellie Design – Retro Hello! It’s so cute! https://gracielliedesign.shop/product/20-off-%e2%80%a2-retro-hello-mega-digital-stamp-set/ This set is currently on sale, check it out! I love vintage items/antiques… so this phone brings me back!

I started by working with the phone image in word. I copy and pasted the image in a random order to create a background on my card. I knew I wanted to make an eclipse card with the Hello die from Altenew, so I thought a patterned background could be fun! I colored the phones using my Arteza everblend markers. I did add some colored pencils in shadow areas as well. I then die cute a frame and the hello as well. This hello die once cut has many little pieces so I had to be sure to save them. I started by gluing my background panel down on an A2 card and then inserted a hello die cut (out of foam) on the panel as well. As a side note here I shouldn’t have used a green foam hello, but I did (oops). You can see it a bit. Then I layered a few more hello die cuts for added dimension. I then placed my hello die cut on top and my card was complete.

Supplies Used:

  • Stamps – Retro Hello (Graciellie Designs)
  • Paper – Neenah Solar White
  • Coloring Medium – Arteza Everblend Markers
  • Other – Hello die cut (Altenew)

Have a great week – Crafty Hugs,

Natasha

Paint a Poppy – Altenew

Hi everyone and happy Friday! I have been on winter break this week, so I had lots of time to relax, craft, and enjoy being home with my family! It was a great week, it sure did go fast, but hopefully now we are one day closer to spring! For today’s card I am using the new Paint a Flower subscription from Altenew called Poppy! I was so excited to see them come up with a kit that is all about coloring & flowers… you know I love to color! I sure do love flowers! I can’t wait to see the next flower…..

I started by stamping the beautiful flower all over my watercolor panel background. I stamped it using WOW embossing ink, then used a gold embossing powder from Ranger. I used my Brutus Monroe aqua pigments. I had so much fun watercoloring with these. The level of color saturation is AMAZING… I love bright cards and the color on these is beautiful. I can’t wait to get more of these. On the flowers I used pink and purple, then on my leaves I used some green (with shimmer) and a little yellow. I then did a watercolor background as well using a shade of red. I used different shades of similar colors to add splatter to my card. I finished off the coloring with some similar shades of colored pencil as well.

I added a die cut hello sentiment, which I had cut 3x for added dimension. I added some sequins to the card base and added stickles to the center of each.

Craft Supplies used:

  • Stamps: Altenew (Paint a Flower – Poppy)
  • Paper: Canson Watercolor
  • Coloring Medium: Brutus Monroe Aqua Pigments
  • Other: Hello Die (from Michaels… I believe), sequins, stickles

Wishing you all a great day and weekend! Crafty Hugs,

Natasha

Sketched Peony – Alex Syberia Designs

I hope your week is off to a good start! I am on February break, which means lots of family time and crafty time! I have another beautiful Peony from Alex Syberia. You can see the beautiful Sketched Peony and more beautiful digi stamps at Alex’s online shop https://www.etsy.com/shop/AlexSyberiaDesign

I chose to work with the beautiful new Sketched Peony! I knew when I first saw this stamp I wanted to create one large bloom as my focal point and wanted to use a variety of colors.

I started by printing the peony on Bristol Smooth card stock. I then colored my image using a variety of markers for this flower. I used both Tombow dual brush pens, as well as my Arteza brush pens. I then used colored pencils in the nooks and crannies in a deep red to add more dimension and interest to my flower. I then added Wink of Stella to the center of my flower in gold.

I then chose a piece of card stock and used an embossing folder on the background. I added a little splatter in gold as well. I then used foam tape to adhere the flower to the card base. For the sentiment I chose a friends sentiment from Pretty Pink Posh. I heat embossed this in gold and adhered it to my card. I then added a few gold sequins to the card base, as well as stickles in the center of the sequins.

Supplies:

  • Stamps Used: Sketched Peony (Alex Syberia Designs), Pretty Pink Posh
  • Paper: Bristol smooth cardstock
  • Coloring Medium: Tombow Dual bursh pens, Arteza brush pens, colored pencils
  • Other: Perfect Pearls, sequins, Stickles

Wishing you all a great day! Thank you so much to Alex for this AMAZING opportunity!

Crafty Hugs,

Natasha